

How Can I Update My Floor Tiles Without Removing Them?
|
|
Time to read 6 min
|
|
Time to read 6 min
I get into many home improvement projects to save money and because I like to do things myself. While some are easy, others are labor-intensive, but the outcome always makes DIYs worth it. Replacing tiles is one of the most tedious and costly renovation exercises. Luckily, there are other ways to deal with a cracked or old tile floor. I will discuss 7 non-destructive options I have tried and tested over time.
It all started when I moved into my 1970s apartment, and the cracked pink tile in the bathroom looked like a scene from a horror movie. But with a tight budget and a strict landlord, tearing it out wasn't an option. Here are the 7 affordable ways to remodel without destroying a single tile or your lease.
Peel and stick vinyl tile flooring installation is as simple as it sounds, peel and stick, or so I thought. This led to a disastrous first attempt at installing peel and stick tiles over an old floor.
I bought marble-like peel and stick tiles and was so excited to get to work that I forgot to clean the floor. This caused the edges to curl, and my cat had a field day tearing at the edges. I learned the hard way that you should follow all the steps to get the best out of peel and stick tile flooring.
It cost me $150 to renovate 5 square meters, and my landlord was pleased with the result.
You can revitalize your tiles by applying a fresh coat of your favorite color. However, not all paints are good for your tiles, and you must follow the procedure to achieve that fresh boho chic look. I learned the hard way when I chose the wrong paint (non-epoxy) for my kitchen floor, it peeled after only three months. Here is how to paint floor tiles that last:
First, ensure the floor is free of debris, grease, and grime. If you trap dirt or grease under your paint, it’ll leave a stain or markings.
Sand the tile surface lightly to scuff off the glazing. Placing your paint on the glaze may lead to poor bonding. Clean and dry your tile after sanding.
Read the packaging of your paint for instructions on whether you need a bonding primer.
Start from the farthest end, applying a thin layer of primer, let it dry, and repeat with a second coat.
Your tile floor is now ready for painting. Use a roller to apply an even coat of tile paint. Wait for it to dry and apply a second coat if necessary. You can use a paintbrush to trim the edges and do touch-ups.
Wait for the paint to fully cure (24 to 48 hours) to apply a polyurethane sealer to protect the color coats.
Interlocking floor mats will cover your old tiles while offering several added advantages. If you have children or pets, mats are an excellent idea. Interlocking mats provide a comfortable and safe surface for toddlers to crawl, play, and learn to walk. They are soundproof, non-slip, and easy to clean.
Interlocking mats protect your floor from scratches and damage, lengthening its service life. The icing on the cake is that you can mix and match different colors (white, gray, mint green) to create Nordic styles.
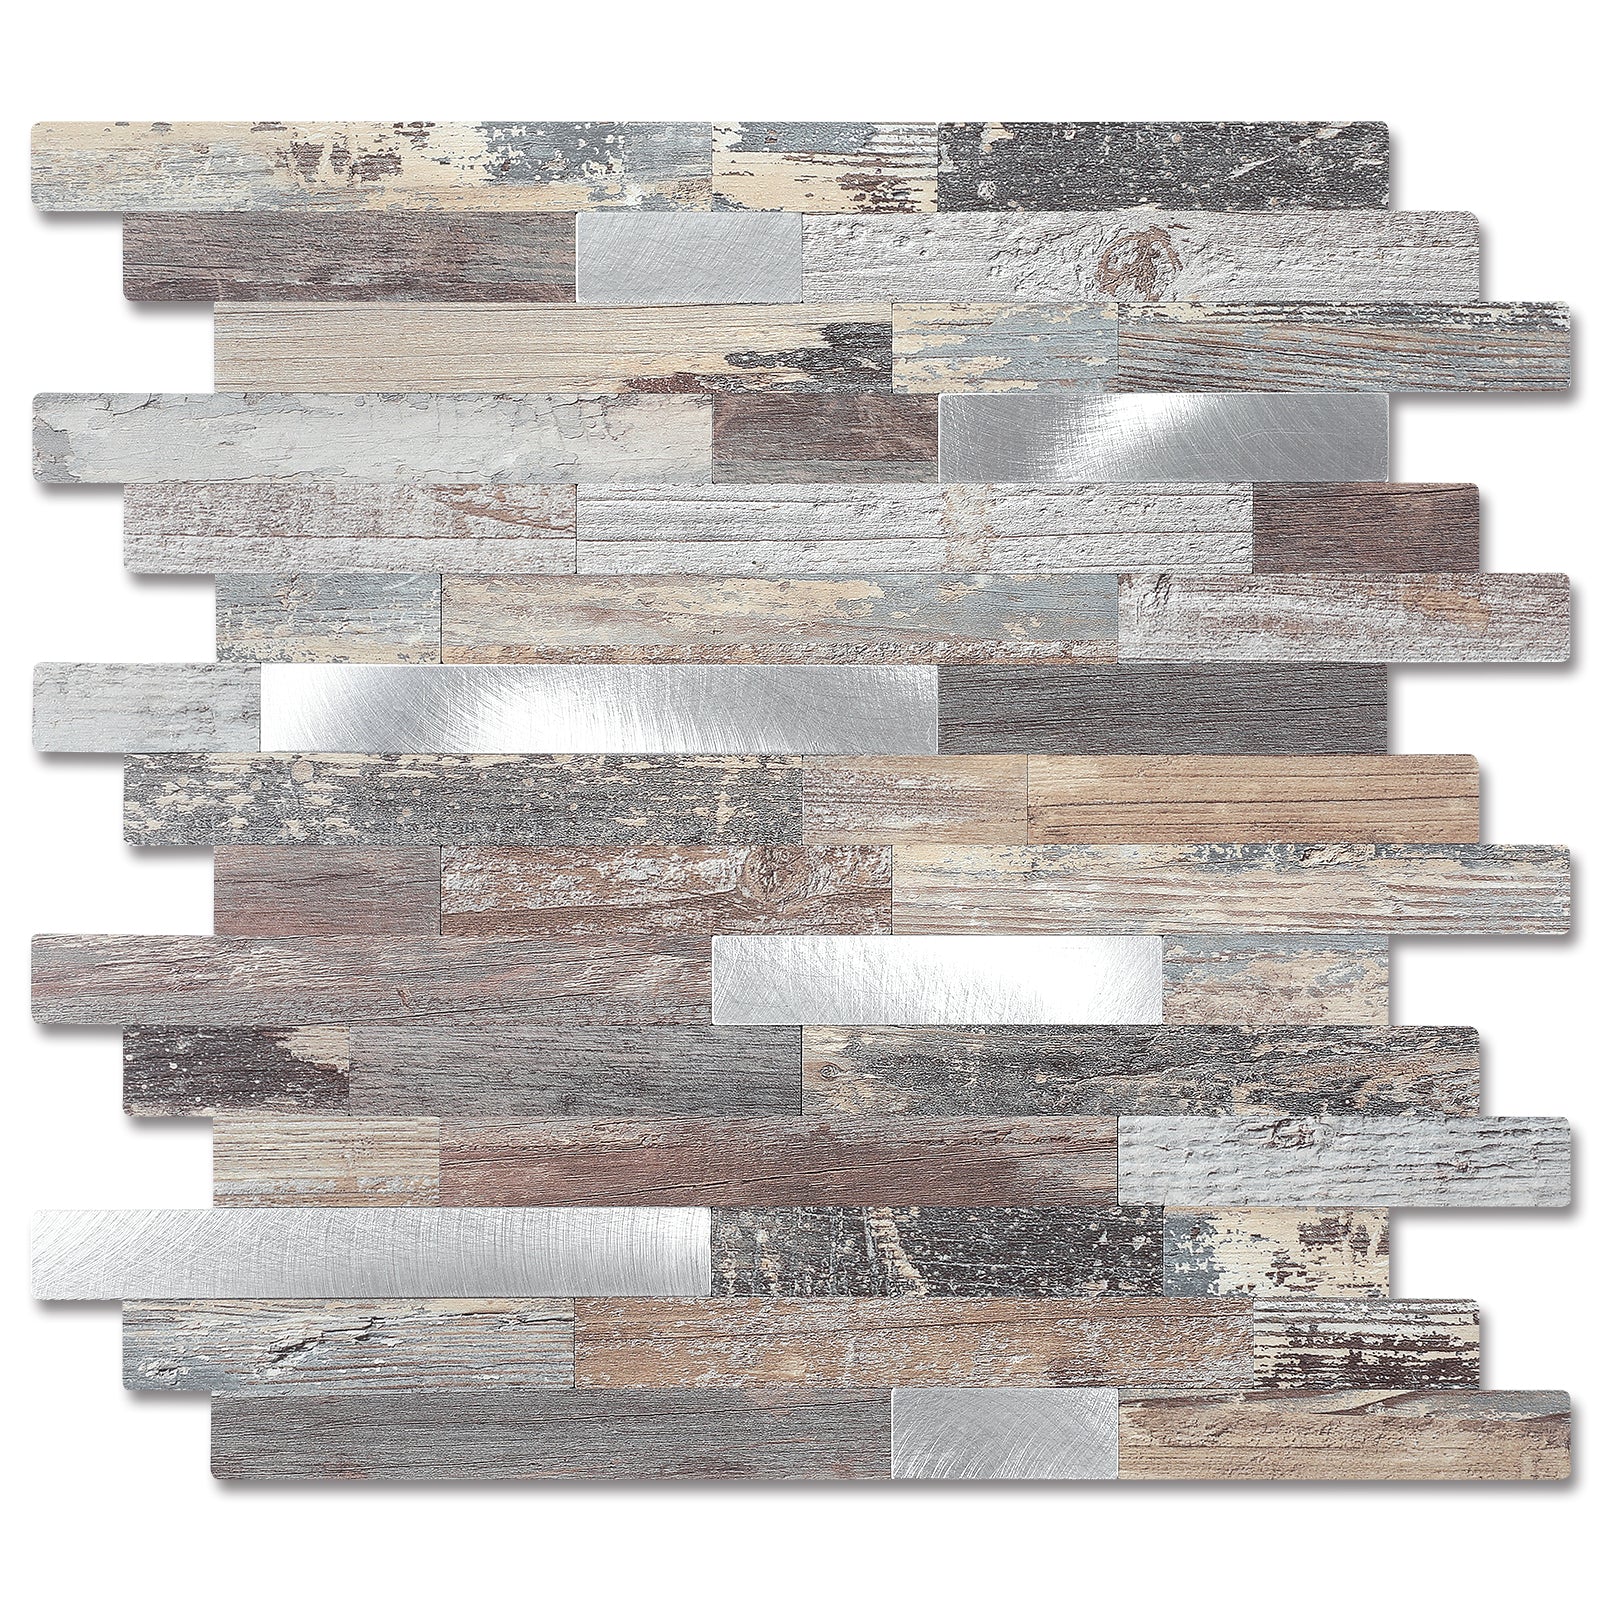
Removable floor clings, like floor decals and stickers, are ideal for temporary tile flooring renovation. If you want to cover some defects on your rental apartment floor, go for custom floor decals.
I once had to cover cracks on the tile floor of my apartment hallway, I chose marble-textured vinyl film to match the tile. The advantage of vinyl film is that you can heat and reshape it to follow the direction of the cracks.
Vinyl film flooring works well for the irregular cracks and comes right off, leaving no residue, when it's time to tear it off.
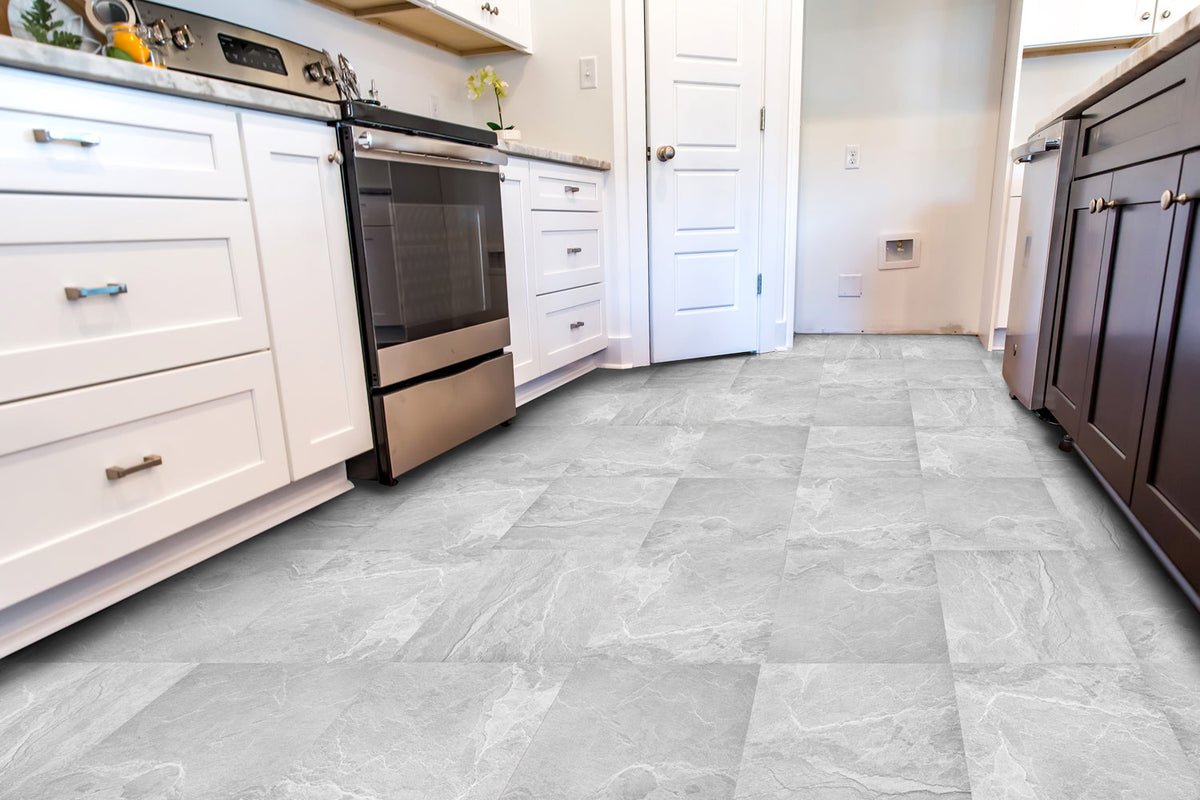
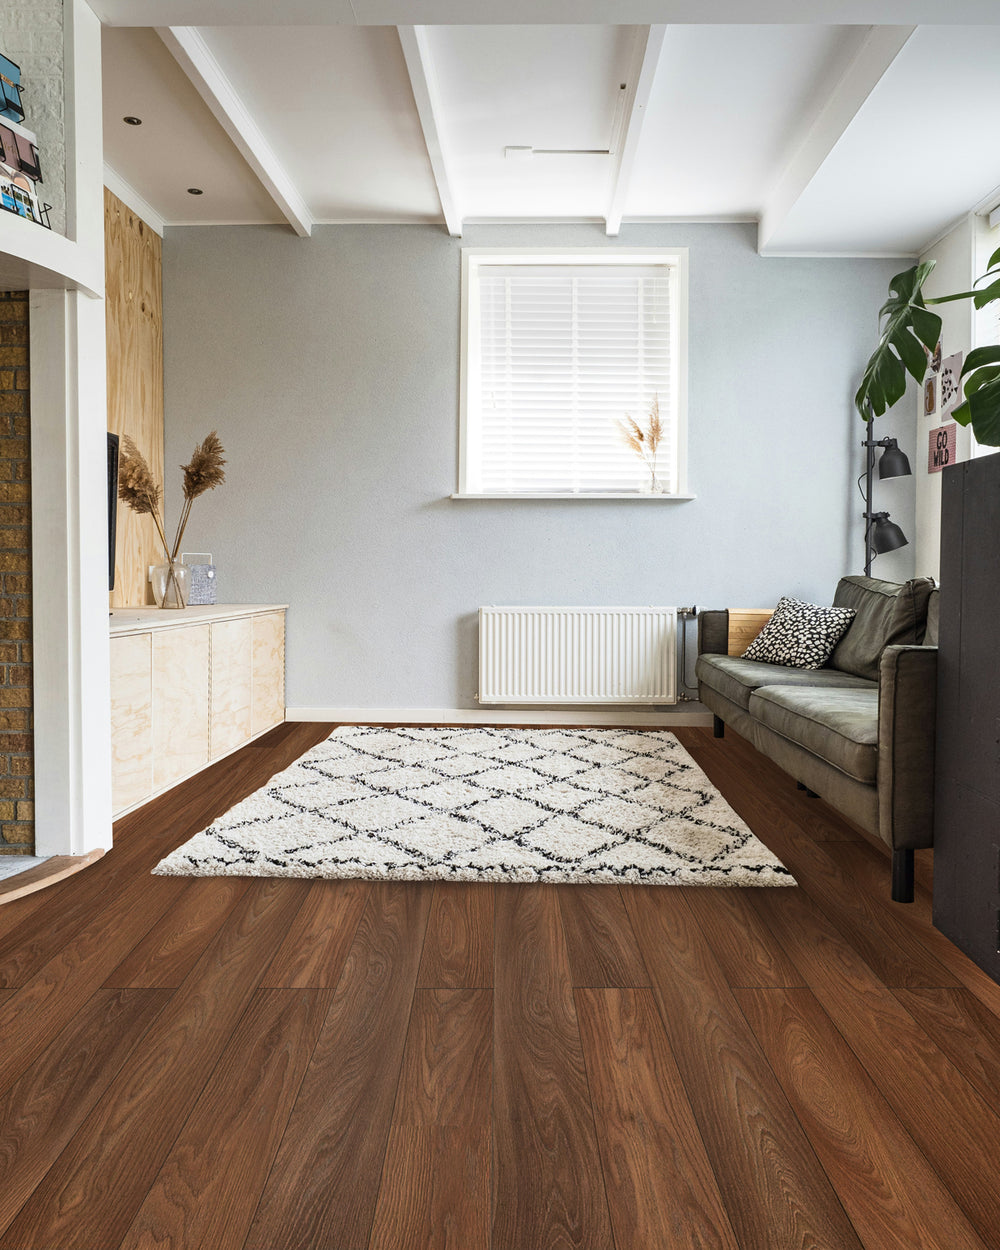
A floating floor is an ideal long-term and more permanent solution for your old tile flooring. Now let's talk about the type of floating floor I chose. I chose the waterproof LVP interlocking flooring for my master bathroom, whose tiles were moldy and cracked.
There are some critical considerations for laying a floating floor over tiles. The first is the underlayment or a vapor/moisture barrier. Not all floating floors require an underlayment, it depends on the type and brand. I advise consulting your local flooring store experts or reading the manufacturer's recommendations. Some vinyl planks also come with an attached padding, which adds comfort and reduces foot noise.
Installing a floating floor is challenging, especially when you have to cut around permanent fixtures such as the toilet, in my case. Thankfully, several YouTube tutorials take you through the process from the tools you need to cutting around obstacles.
After spending $400 and 2 days of hard work, I can proudly claim to have achieved a hotel-level bathroom.
You can stencil a fresh breath of vibrant patterns and colors on your old tile floor and bring it back to life. This is one of my favorite projects because you can achieve whichever look you fancy. I went for Spanish tiles. What you need:
Clean the floor surface as if you were preparing to paint. Stenciling is fun, but it requires patience. I promise you will enjoy this one, as did my friends who imitated my DIY video tutorial. (link video).
When I installed carpet tiles in my basement, I thought that was the best choice, but I was in for a rude shock. Everything changed with the weather, and the floor caught mold with increasing humidity. I learned that carpet tiles are only suitable for basements with little to no moisture.
Moisture-proof foam mats are more durable in basements. I replaced my carpet tiles with moisture-proof foam mats, which served me better.
Installing flooring in wet areas is challenging, as moisture buildup encourages mold growth and destruction of the flooring. So, even without the evidence of moisture during installation, invest in moisture-resistant flooring materials.
Method |
Cost |
Time |
Durability |
Satisfaction |
Peel and Stick |
$150 |
4 hours |
2 years+ |
4 stars |
Hand-painted floor tiles |
$80 |
2 days |
1 year |
1 star |
Floating floors |
$400 |
2 days |
5 years+ |
5 stars |
Peel and stick tiles are easily removable and do not leave residue or damage the original floor. Depending on the adhesive type and removal methods, you may have to deal with a sticky mess
Mix a mild detergent in a water bucket and use a microfiber mop or a non-abrasive sponge to scrub stains. Rinse with clean water and dry the floor with a clean cloth.
Do you have a worn tile floor or wall that needs renovation? Putting a sledgehammer to it will leave you with a bigger and more expensive mess than you have. There are other creative and affordable ways to revamp your floor without removing the tiles. You can create a sense of luxury around your home or apartment without breaking the bank or getting in trouble with your landlord.


